Introduction
In the fast-paced world of software development, delivering reliable updates to production systems is critical. Canary deployments offer a powerful strategy to minimize risks by gradually rolling out changes to a small subset of users before a full-scale release. This approach allows teams to monitor new features in a real-world environment, catch potential issues early, and ensure a seamless user experience. In this article, we’ll dive deep into canary deployments, explore their implementation using Kubernetes, provide complete code examples, and share best practices to help you adopt this technique effectively.
What Are Canary Deployments?
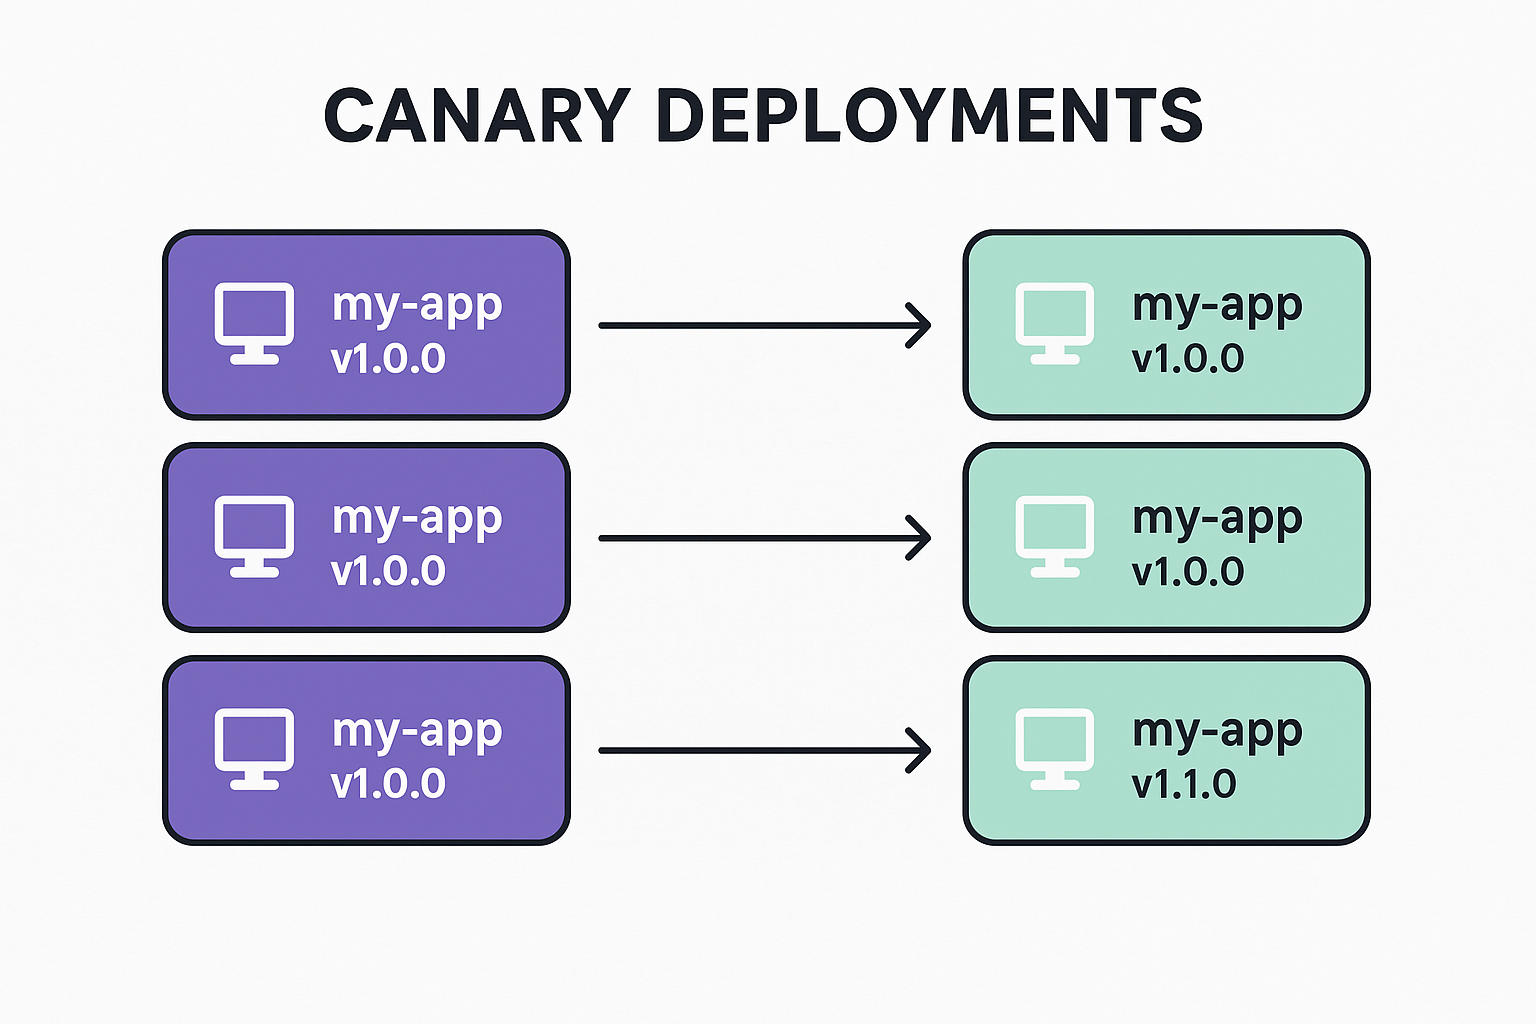
Canary deployments involve releasing a new version of an application to a small, controlled group of users or servers while keeping the existing version running for the majority. Named after the “canary in a coal mine” metaphor, this strategy acts as an early warning system for detecting issues before they impact all users. By routing a fraction of traffic to the new version, teams can monitor its performance, stability, and user feedback, making it easier to roll back if necessary.
Why Use Canary Deployments?
- Risk Mitigation: Catch bugs or performance issues early with minimal user impact.
- Gradual Rollout: Control the pace of deployment to ensure stability.
- Real-World Testing: Validate changes in production with real user traffic.
- Quick Rollback: Revert to the stable version if issues arise, reducing downtime.
Implementing Canary Deployments with Kubernetes
Kubernetes, a powerful container orchestration platform, is well-suited for canary deployments due to its robust traffic routing and service management capabilities. Below, we’ll walk through a practical example of setting up a canary deployment using Kubernetes, leveraging tools like kubectl and a service mesh like Istio for advanced traffic control.
Prerequisites
- A running Kubernetes cluster (e.g., Minikube, EKS, or GKE).
- kubectl installed and configured.
- Familiarity with Kubernetes concepts like Deployments, Services, and Ingress.
- (Optional) Istio installed for advanced traffic routing.
Step 1: Setting Up the Stable Version
Let’s assume we have a simple web application with a stable version (v1.0.0) deployed in Kubernetes. Below is the YAML configuration for the stable deployment and service.
apiVersion: apps/v1
kind: Deployment
metadata:
  name: my-app-v1
  namespace: default
spec:
  replicas: 3
  selector:
    matchLabels:
      app: my-app
      version: v1.0.0
  template:
    metadata:
      labels:
        app: my-app
        version: v1.0.0
    spec:
      containers:
        - name: my-app
          image: my-app:1.0.0
          ports:
            - containerPort: 8080
---
apiVersion: v1
kind: Service
metadata:
  name: my-app
  namespace: default
spec:
  selector:
    app: my-app
  ports:
    - port: 80
      targetPort: 8080
Apply the configuration:
kubectl apply -f stable-deployment.yamlStep 2: Deploying the Canary Version
Now, let’s deploy a new version (v2.0.0) as a canary. We’ll create a separate deployment with fewer replicas to limit exposure.
apiVersion: apps/v1
kind: Deployment
metadata:
  name: my-app-v2
  namespace: default
spec:
  replicas: 1
  selector:
    matchLabels:
      app: my-app
      version: v2.0.0
  template:
    metadata:
      labels:
        app: my-app
        version: v2.0.0
    spec:
      containers:
      - name: my-app
        image: my-app:2.0.0
        ports:
        - containerPort: 8080
Apply the canary deployment:
kubectl apply -f canary-deployment.yamlThe service my-app will now route traffic to both v1.0.0 and v2.0.0 pods based on the app: my-app label. By default, Kubernetes load balances traffic across all matching pods, so with three v1 pods and one v2 pod, approximately 25% of traffic goes to the canary.
Step 3: Advanced Traffic Routing with Istio
For more granular control, Istio allows you to route specific percentages of traffic to the canary version. Below is an example of an Istio VirtualService to send 10% of traffic to v2.0.0.
apiVersion: networking.istio.io/v1alpha3
kind: VirtualService
metadata:
  name: my-app
  namespace: default
spec:
  hosts:
  - my-app
  http:
  - route:
    - destination:
        host: my-app
        subset: v1
      weight: 90
    - destination:
        host: my-app
        subset: v2
      weight: 10
---
apiVersion: networking.istio.io/v1alpha3
kind: DestinationRule
metadata:
  name: my-app
  namespace: default
spec:
  host: my-app
  subsets:
  - name: v1
    labels:
      version: v1.0.0
  - name: v2
    labels:
      version: v2.0.0
Apply the Istio configuration:
kubectl apply -f virtual-service.yamlThis configuration routes 90% of traffic to v1.0.0 and 10% to v2.0.0, giving you precise control over the canary rollout.
Step 4: Monitoring and Validation
Monitor the canary deployment using tools like Prometheus, Grafana, or Kubernetes logs. Key metrics to track include:
- Error rates (e.g., HTTP 500 errors).
- Latency and response times.
- CPU/memory usage of canary pods.
- User feedback or application-specific metrics.
Example command to check pod logs:
kubectl logs -l app=my-app,version=v2.0.0If issues are detected, roll back by deleting the canary deployment:
kubectl delete -f canary-deployment.yamlIf the canary performs well, scale up v2.0.0 and phase out v1.0.0:
kubectl scale deployment my-app-v2 --replicas=3
kubectl scale deployment my-app-v1 --replicas=0
Best Practices for Canary Deployments
- Start Small: Begin with a low percentage of traffic (e.g., 5-10%) to minimize impact.
- Automate Rollouts: Use CI/CD pipelines (e.g., Jenkins, GitHub Actions) to automate canary deployments and rollbacks.
- Monitor Aggressively: Set up real-time monitoring and alerts for key metrics to catch issues early.
- Define Success Criteria: Establish clear metrics (e.g., error rate < 1%, latency < 200ms) to evaluate the canary’s performance.
- Use Feature Flags: Combine canary deployments with feature flags to enable/disable features without redeploying.
- Leverage Service Meshes: Tools like Istio or Linkerd provide fine-grained traffic control and observability.
- Test in Staging: Validate changes in a staging environment before initiating a canary release.
- Document Rollback Plans: Ensure the team knows how to revert changes quickly if issues arise.
Conclusion
Canary deployments are a cornerstone of modern software delivery, enabling teams to release updates with confidence. By leveraging Kubernetes and tools like Istio, you can implement controlled, observable rollouts that minimize risks and enhance reliability. The provided code examples and best practices offer a solid foundation for adopting canary deployments in your projects. Start small, monitor closely, and iterate to make your deployments smoother and safer.
Leave a Reply